I took a break from worrying about French cleats today to:
- Make a video review of InkScape (summary: not impressed).
- Prototype a 24" gridbeam piece with embedded LED strip, using a slightly different design and process than the epoxied ones I made a few years ago.
Following are my notes about the new light fixture.


WSITEM-100886 is intended to test some new, or maybe it's not so new, technique. I just want LED strips that 'just work' and don't require me to build some fancy rack and control panel for them.
For purposes of getting this done quickly, I did not sand or treat the wood in any way. If I were to do this 'nice[ly]' I would sand the wood and put a nice finish on it before doing any wiring, though I would refrain from epoxying everything together, since that makes it very difficult to do repairs.
High-level design
- White LED strip in a groove. The grooved/LED side is not gridbeam-drilled.
- Adjacent side has 3 2.1mm barrel jack power in/outlets and an on/off toggle button. The button switches the negative connection to the LED strip. The power inlets are all wired together so that these can be daisy-chained using plug-to-plug cables.
- Opposite the jacks and buttons is 'all the wiring'
- This made it easier to get the wires through than with some earlier designs that had the wires pass directly from the LED strip through a hole that had to somehow make a right angle to get to the jacks/buttons.
- In this case, a simple straight 3/16" or so hole goes diagonally from the LED strip groove to the wiring side.
- Final side, opposite the LEDs, is unused, but has a deep groove in it because 2017 Dan liked putting LED strips on both sides. Could be handy for routing other wires?
To carve the wire channels, I started out using a disc bit on the Dremel. This...sort of worked, but was clearly not the best tool for that job. I later went back over those grooves with a cyllindrical grinding bit, which, while still not ideal, gave more control and allowed me to, with patience, widen and deepen the grooves so that all the wires would fit.
Wiring
- LED strip is not integral to the wiring.
- I have had bad experiences (WSITEM-100629) with the LED strip going bad and the entire piece becoming a paperweight, so want to design any fancy integrated pieces such that the LED strip can be replaced with as little fuss as possible.
- This means any wire junctions are done elsewhere on the piece.
- Actually went a little overboard with the decoupling,
using a JST-RCY connector superglued to the side of the groove
between the LED strip and the other wiring.
- The only reason I did this was to make it easier to test the LED strip independent from the other wiring, since I had cut through the LED strip in one place and had to patch around it.
- To be honest, this was unnecessary and a waste of a pair of JST-RCY connectors.
- Wires are shoved into channels so that they do not affect the convex hull of the piece.
- Wire junctions are just small holes drilled into the bottoms of the channels
into which stripped ends are shoved and then soldered.
- I found this to work well in the past, and it worked well this time, also.
- Button and jacks were installed by soldering much-longer-than-necessary lead wires, inserting through the holes, then clipping the leads to length, bending the tips, and poking them into their junction holes (not soldering the junctions until complete with all wires).
Finishing up
- Superglue (the runny stuff) to hold some backside wires in their grooves after soldering all the ends in place
- Hot glue to hold some wires in place on the front
- Hot glue to fill the space behind the on/off button and hold the button in place
Thoughts on things to do differently next time
- Better to err on the side of deeper-than-necessary counterbores than not-deep-enough.
- It may be better to drill holes so that the connectors fit in snugly without needing to
be 'screwed in', and just glue them. Especially if counterbores are deeper.
- Alternatively, 3D print a ratchet wrench socket to grab them within the counterbores.
- Maybe an existing hex socket could do it?
- Alternatively, 3D print a ratchet wrench socket to grab them within the counterbores.
- Cut grooves for wires ahead of time using the table saw, then do cross-cuts and round curves with another tool, maybe the dremel grinding bit. It'll look neater and take less time than trying to do the whole thing freehand.
- 1/16" may be overly pinchy for wire joints. 3/32" might provide the right amount of wiggle room.
- Double check that the wiring routes will work at the beginning so you don't need to cut into the thing again while your soldering iron is hot!
Notes on hole sizes
- 9/32" is pretty tight for the barrel jacks; they can just barely be screwed in. 19/64" allows them to slide in snugly and stay put by friction.
- 1/2" is a bit large for the button hole--threads don't engage at all, it just falls out. I lated found that 31/64" is perfect for friction fitting the buttons.
- 15mm 3/16"-ish counterbores work for both the barrel jacks and the button
Other notes
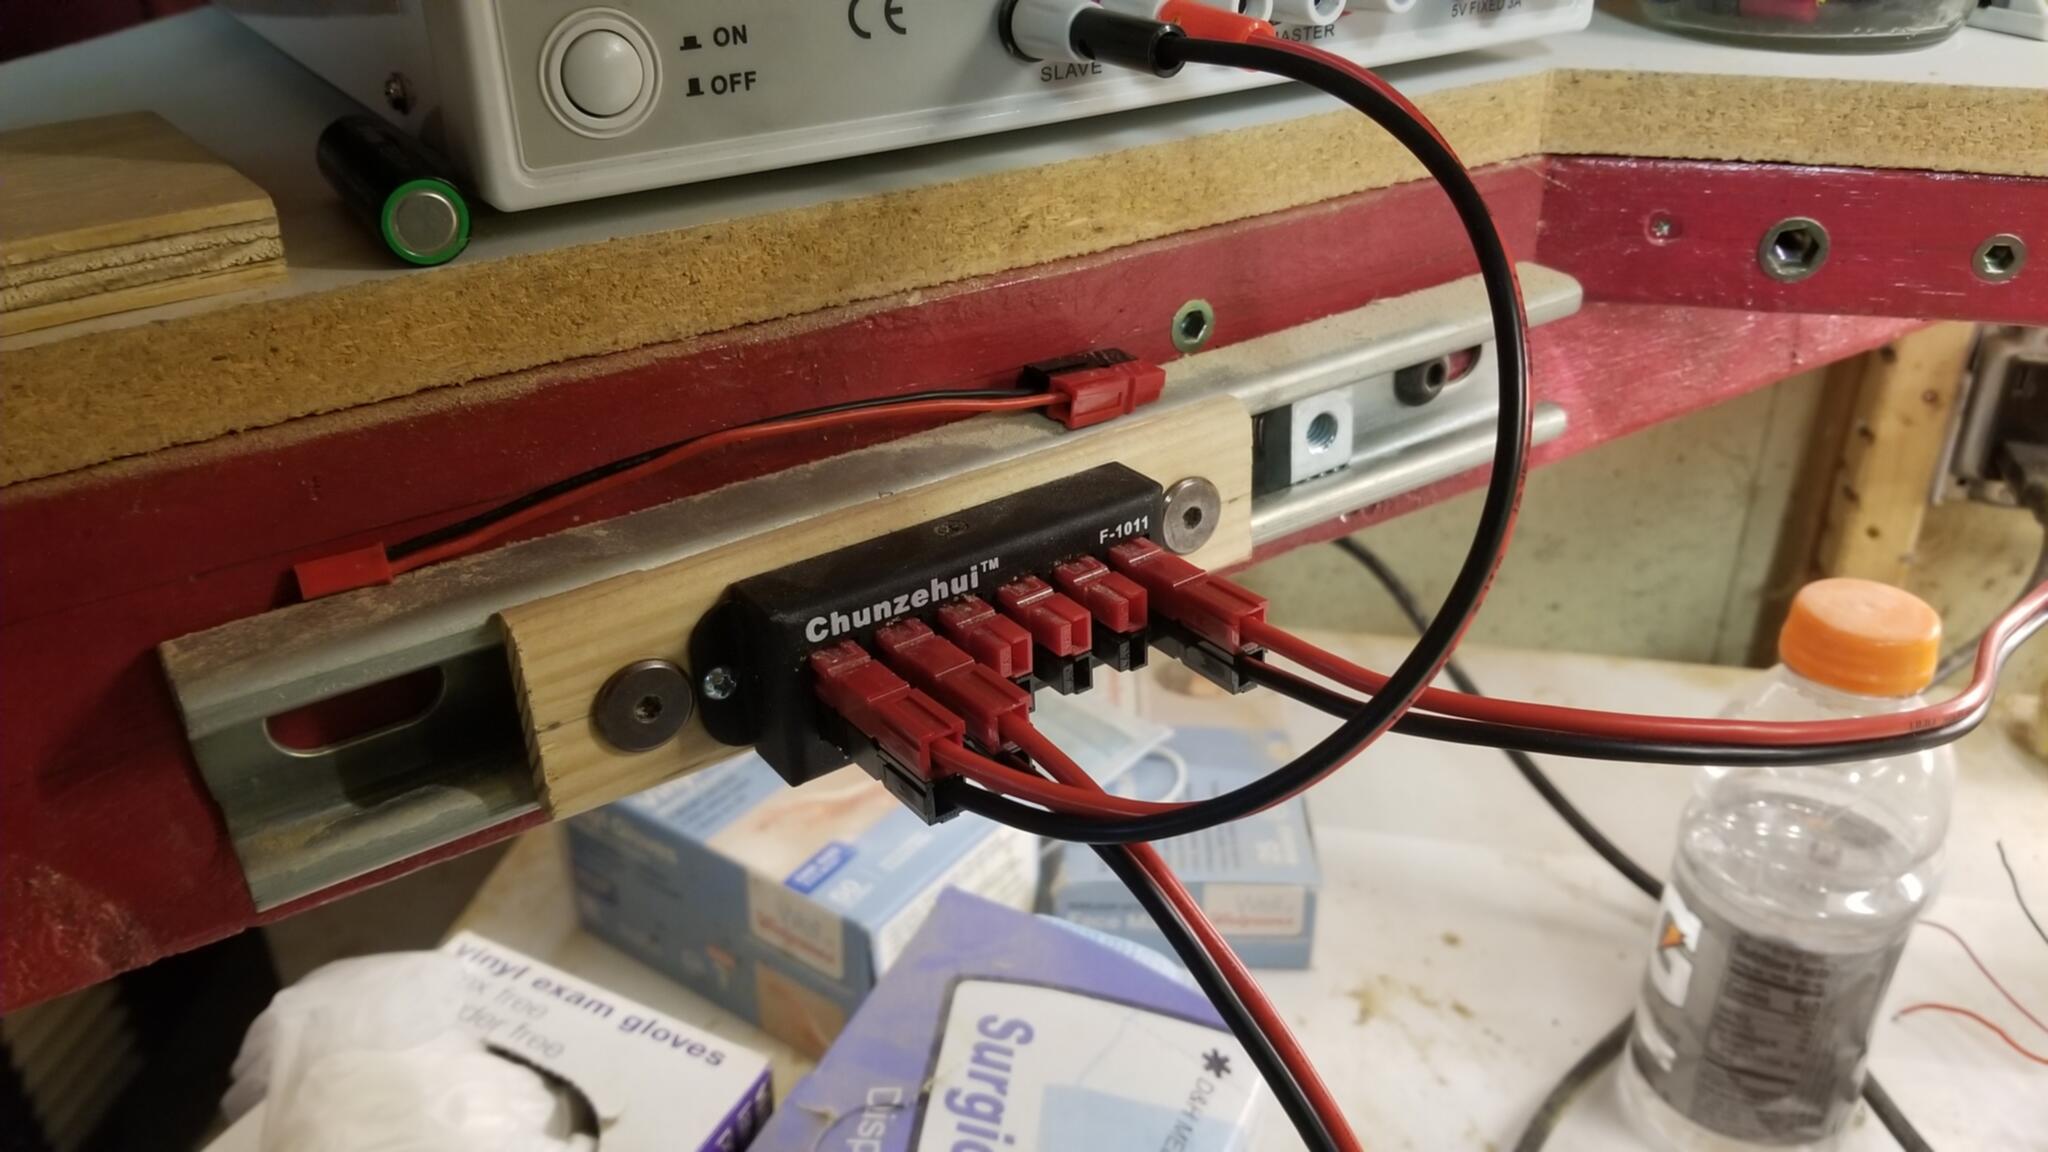
In the process of doing the wiring on this thing, I cleaned up the 12V wiring from my benchtop power supply to go through a PowerPole distribution block and made myself some PowerPole jumper cables to replace the janky chain of stacked banana plugs and alligator clips: