I wanted to give Alvin an easy way up onto the bed at the farmhouse. There was 6 inches of space between the bed and a filing cabinet, so I decided to build a ramp there.
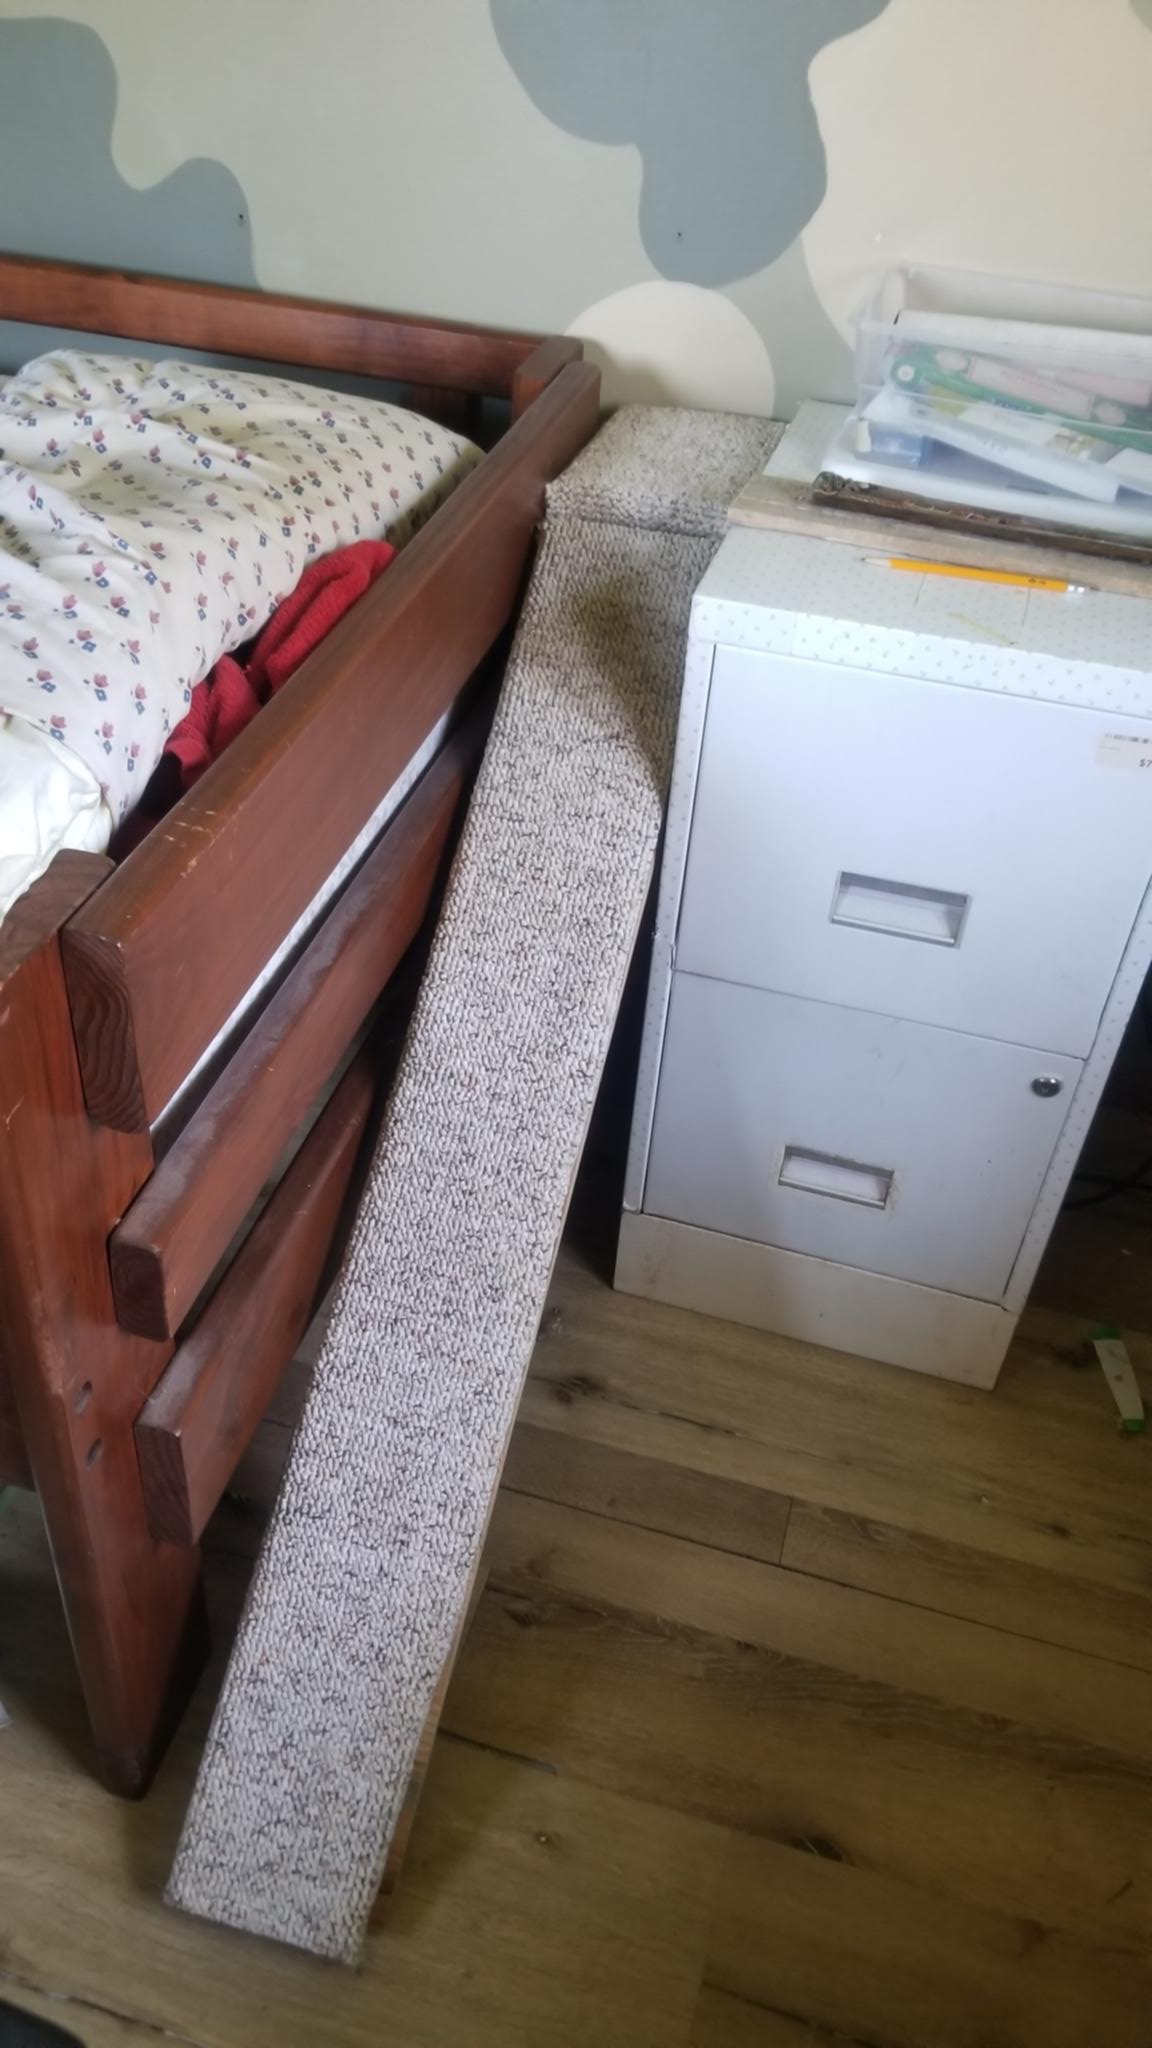
The design is pretty simple: a 6″ wide × 9″ tall × 6″ deep box attached to the wall (actually hanging on a short French cleat), some 3D-printed hinges attached to the top/front of that box, matching hinges on a 42″ long bit of plywood as the ramp, and then separate carpeted panels attached on top of the box and the ramp.
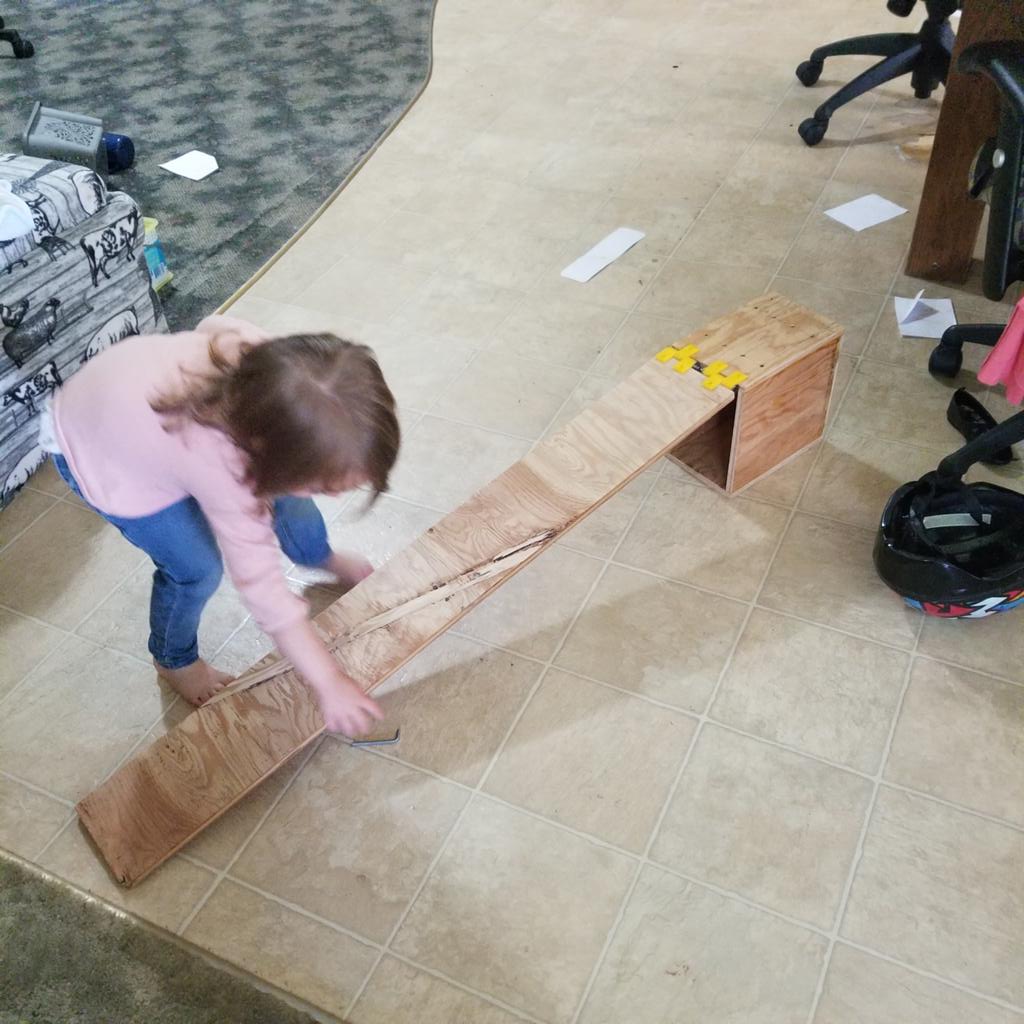
Hinges
The design for these 3D-printable hinges is based around a 3/4″ grid, and assumes they'll be attached to a 1/2″ board using #6 screws. The hole for the pin is 1/4″, so can be filled with a 1/4″-20 bolt, which I have lots of.
| STL ID | Description | Pics |
|---|---|---|
| p1594 | One-legged hinge for edge of box | 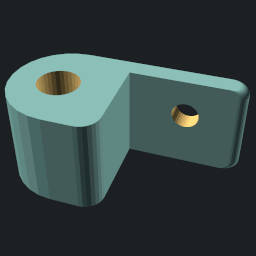 |
| p1595 | Two-legged hinge for 1/2-inch board | 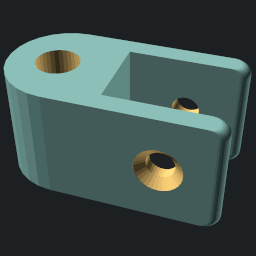 |
Carpeting
Carpet came from a big old roll of it that I found in the back of the farmhouse garage. It's not clear if this was new or used, except by mice while it was in the garage. A serrated kitchen knife did the job of cutting it into manageable sections. Scoring along the back and then sawing along that line seemed to result in reasonably clean cuts.
An attempt was made to come up with a 'better' way to attach carpeting to things such that the carpet can be removed and I don't need to sacrifice a board to it (my feeling is that the carpeted panels will eventually get gross and so should be designed as somewhat disposable things, so I don't want to invest a lot of sanding, T-nuts, or Danish oil into them; normally I build my wooden panels as if they will last forever, and put way too much effort into polishing them).
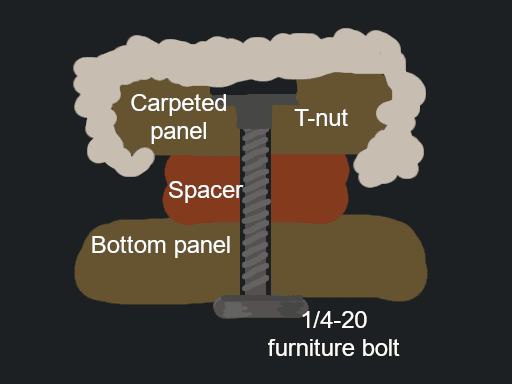
One method I came up with, which was used for the carpeted panel attached to the top of the box, was to take the piece of wood, wrap it in cardboard (from an old cat food box), and then hot glue the carpet to that. This worked, but seemed like more trouble than it was worth, so the carpet panel on the ramp was made the old-fashioned way, by hot gluing the carpet directly to the board, which has a few T-nuts under the carpet along the centerline. The carpet wraps around the sides of the panels, covering the outer 1+1/2″ around the bottom but leaving the center bare.
Another approach to preserving T-nuts that I thought of would be to put them in the spacer, and use wood screws through the spacer into the sacrificial carpet-wrapped board. I ended up not bothering because that also seems more trouble than it's worth.
Hot glue, especially on the extra hot setting, was perfectly capable of bonding the carpet to the board and to itself without any help from staples or nails. But it did use up a surprising number of hot glue sticks.
The final ramp assembly has 3 main parts: The bottom board, which has the hinge attached to the end, a spacer, which is a bit shorter and narrower so as to fit in the uncarpeted space under the carpeted panel, and the carpeted panel.
Testing
Alvin, and even the other cats, found it a little bit difficult to climb up the ramp, though they maybe got better at it with practice. I think the main problem is that it's too narrow. They are also not used to ramps. Steps might be more ergonomic for them.
Conclusions
These 3D-printable hinges work alright, and could maybe be used to attach modular wall sections for baby or cat pens.
For carpeting stuff, unless you already have a very nice piece of wood that you want to wrap with carpet without mucking up the board, just use a scrappy piece of wood and hot glue carpet to it. To reduce the number of T-nuts that get 'sacrificed', just use a few holes along the center. Or just put threads directly into the wood instead of using T-nuts.
6 inches may be too narrow for an Alvin ramp. Next time I think I'll go for 9. And cats may prefer steps to ramps, anyway.