I have a couple of motivations for making this post:
- I think the rhe rails with the clips on them are kind of neat. Mashing a bunch of parts next to each other on a rail feels satisfying and the result looks sort of cool. So I wanted to show that off.
- I design and 3D print a lot of things, but don't document them anywhere where anybody else can see them. To rectify that, I've been wanting to make occasional "stuff I've been 3D-printing lately" posts, which would include pictures and links to the OpenSCAD designs and STL files for each item. I want to derive as much of the information as possible from data [more data] so that (A) I don't have to hand-code a bunch of HTML, and (B) so that I can easily present that data in different ways.
I also realized that letting text span the entire window makes things hard to read when the window is really wide, which is why almost every website limits the width of paragraphs, so I'm including some experimental CSS changes local to this entry.
Now, on with the cable management methods:
1. Tie Them To Things
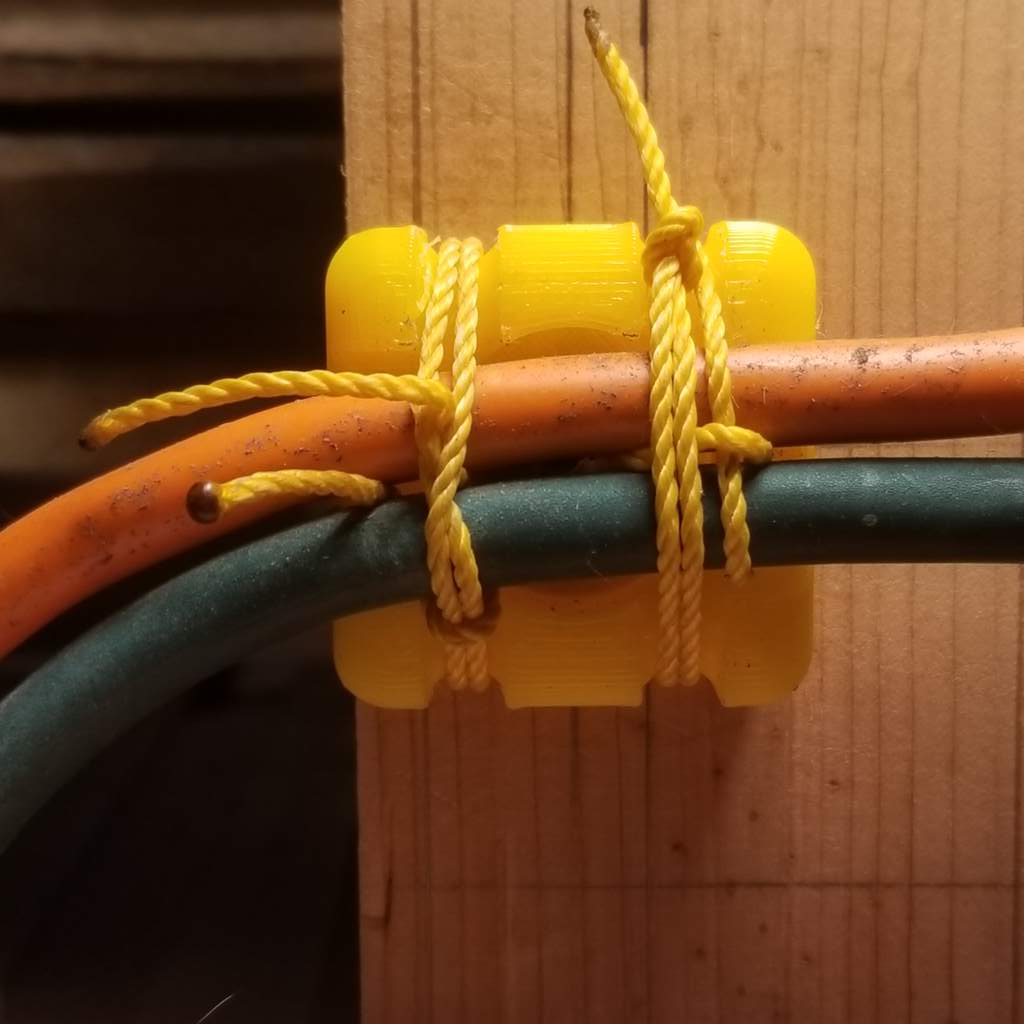
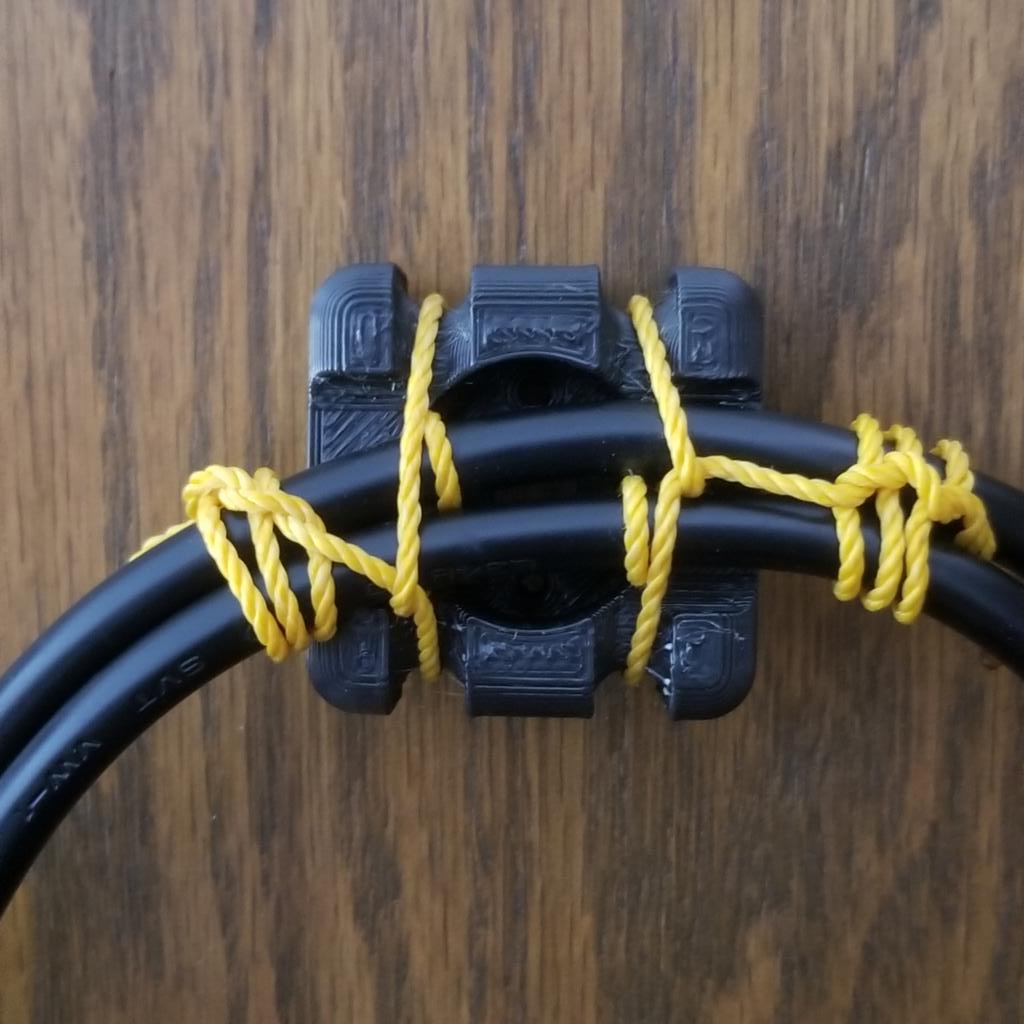
Tying cables down is fun if you like playing with string and knots, and can make nice neat bundles of cables.
The pictured 3D-printed 'cable tiedown block' can be bolted to a gridbeam or a wall or ceiling, has a groove across the front for cables to pass, and smaller grooves in the other direction that pass all the way around the back so that a string can be tied around the whole thing, holding the cable in place.
I failed to come up with any hitches that that were both secure and easy to tie and untie. So as much as I like the idea of tying cables down with strings, this method didn't turn out to be particularly practical for my purposes.
2. Bolt Them To Things


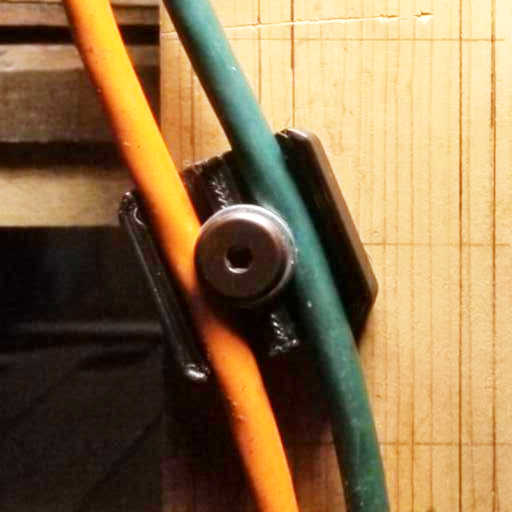


An adapter of the appropriate shape can be bolted down around the cable(s) for a nice tight connection that's easy to adjust or remove (by loosening or removing the bolt). The adapter can be a single piece that holds the cable against the underlying (or overlying) surface, or a two-piece assembly that fits around the cable.
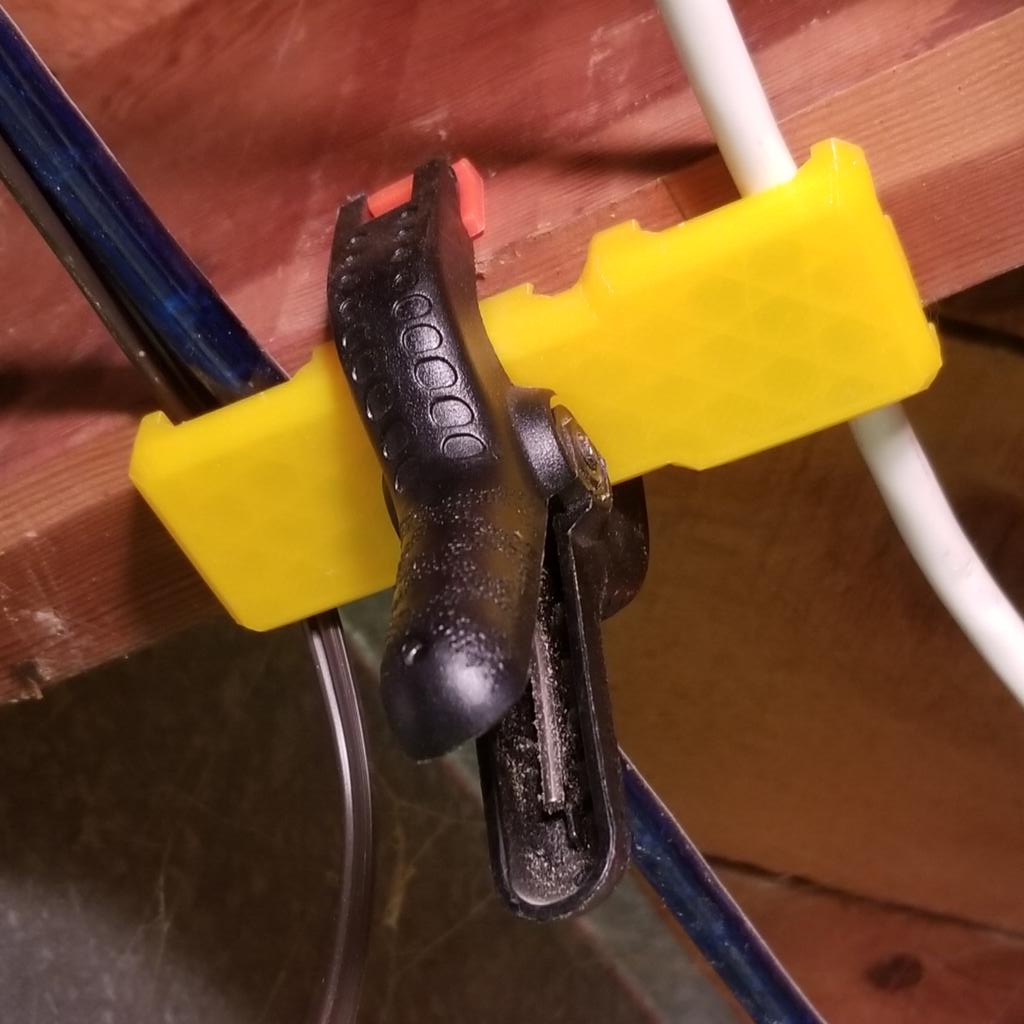
I've made a few different designs to do this. The first one is a 1½″ × 4½″ deal. It's narrower in the middle so that it can be clamped to a joist or something, in case you don't want to drill holes in your ceiling (the narrowness ensures that the clamp squeezes the joist before it gets stopped by the adapter), but also has a center hole for a 1/4″ bolt (or smaller, with some washers).
The other design being a more streamlined 1½″ square with grooves for two cables. This one can be used either upside-down, holding the cable against the wall, or right-side-up, with a a cap bolted onto the top. Both the main piece and the cap are designed as TOGridPile blocks, so they stack nicely.
3. Route Them Through Things


Maybe the simplest way if you're just using hooks and loops that happen to be in the space. "Just throw 'em over the rafters."
Or you can make your own hooks and pass the cable over those. Ideally several hooks, close together, facing opposite directions, so that the cable(s) can be added or removed without having to disassemble anything, but don't slip out accidentally.
A single piece matching that description would have a lot of overhangs, making it hard to print. So I came up with a system where the hooks are printed individually, and then slide onto a rail.
Off the top of my head, I can think of several standards for tracks or rails that might have done the job. I could have designed these clips to fit into T-track, Matchfit / Dovetail grooves, or around DIN rails (maybe the 15mm variety). Fitting around a rail, rather than inside of a track, seems nicer from a 'pieces have an approximately rectangular convex-hull and therefore can pack nicely' perspective. I didn't have any DIN rails handy, so I invented my own 'MiniRail' standard.
These MiniRail have a trapezoidal 1/4″ × 3/4″ (though the center) cross-section, gridbeam-compatible countersunk holes for 1/4″ and #6 bolts (alternating), and 1/4″-wide notches every 3/4″ along the back (the narrow side) into which clips can be snapped to prevent things that have been slid onto the rail (such as the aformentioned cable hooks) from moving.
Conclusion
The rail + hook system might be the most satisfying of the three approaches I tried, though it is obviously more 'complex' in terms of number of parts. The tie-down points require horsing with knots, and are not actually any simpler than the bolt-downs, since you need to bolt the block to something anyway.
The bolt-down system seems like the winner for simple cable management, being both simple to produce and simple to use, assuming you have an allen wrench handy.
That said, the MiniRail system is pretty neat and could be useful if you want to be able to easily rearrange a bunch of small components (which may or may not include hooks for cable management). Sort of like a scaled-down French cleat.
Since this was originally written I found that a MiniRail mounted to the inside of a cabinet door with lots of little hooks and spacers on it makes a great key rack.
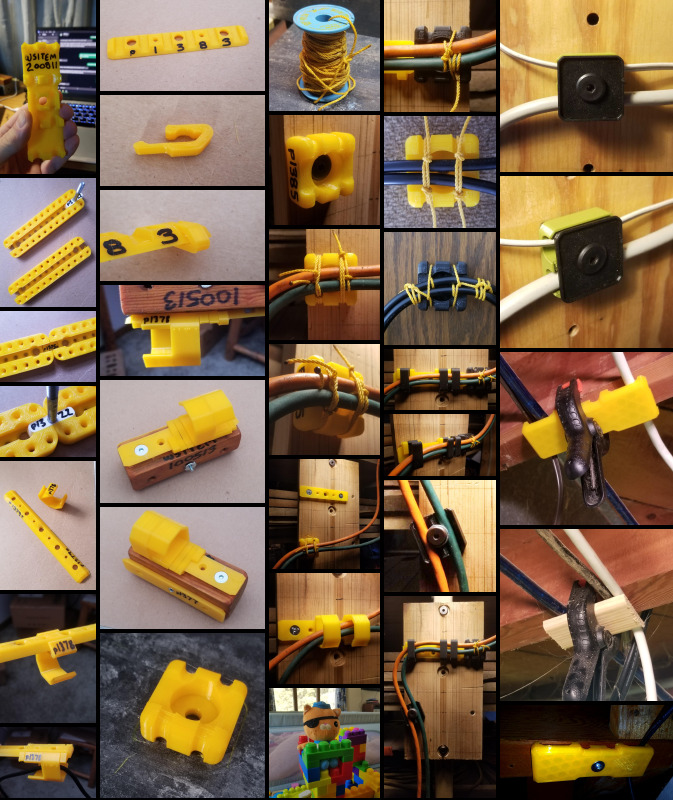
Photo Gallery
Part Designs
| STL ID | Description | Pics |
|---|---|---|
| p1286 | 4.5-inch x 1.5-inch 'joist cable clip' | 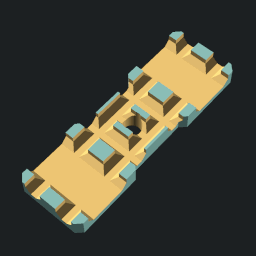 |
| p1352 | Phone Holder v2.10 | 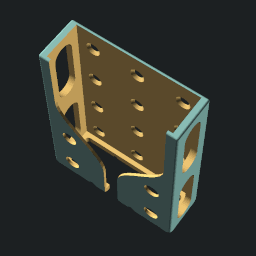 |
| p1380 | Jam-on MiniRail clip (stays on by friction) | 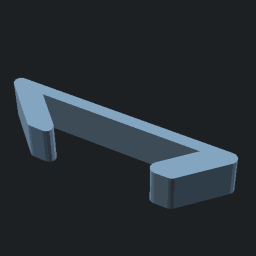 |
| p1383 | 4.5-inch notched MiniRail | 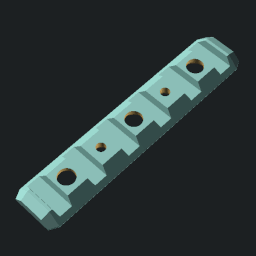 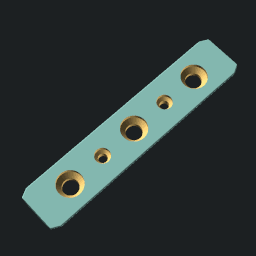 |
| p1386 | Cable tie-down block | 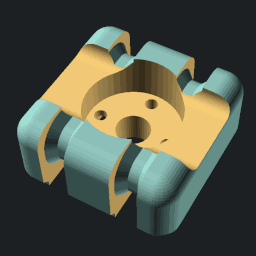 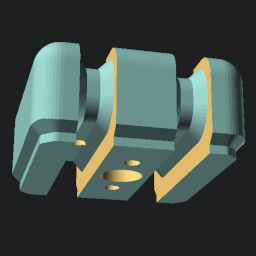 |
| p1387 | MiniRail notch clip |  |
| p1400 | MiniRail cable clip | 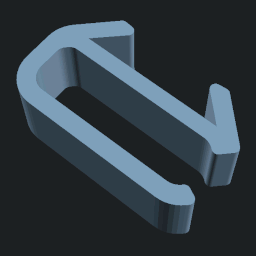 |
| p1401 | Cable bolt-down block | 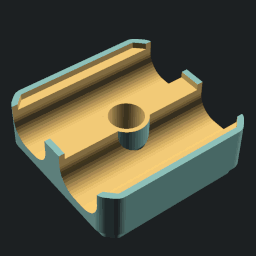 |
| p1402 | Cable bolt-down cap | 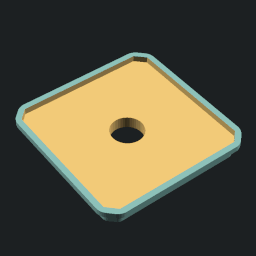 |